Home

Chipmunk International made this page to show what an Apple iPod looks like on the inside.

(We also have a similar page on the Pro Mouse and on a 'normal' iPod)

If you have any comments please email me: harald@chipmunk.nl


1: How to open up your iPod shuffle

Don't!
Apple did not make it to be opened. The featured on this page did not live to tell it's story itself...

2: Removing the sliding button...

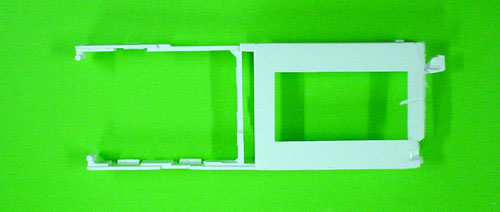
The sliding button can be popped out when it is slid all the way to the top position.

The button is held back by two little claws that can come out through the two little gaps that can be seen clearly in the picture on the left side of the 'hole'.

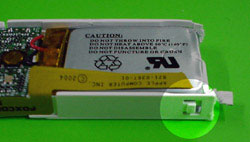
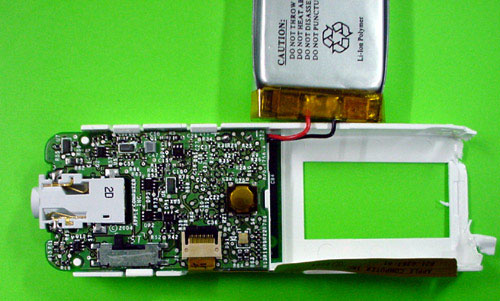
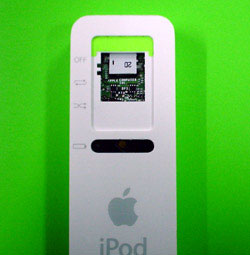
The battery button does not (!) come out at this stage. It is put in from the inside and can (should) stay inside until the insides are slid out.

The scroll wheel thingo on the other side should also stay in!

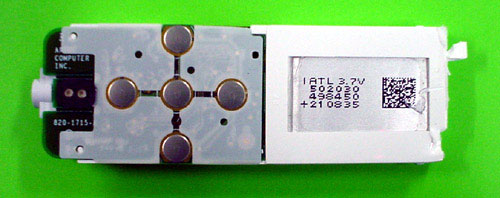
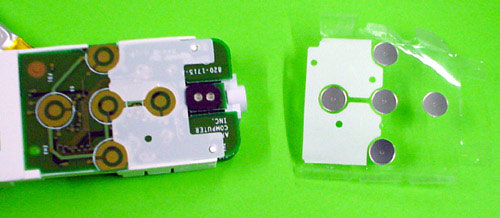
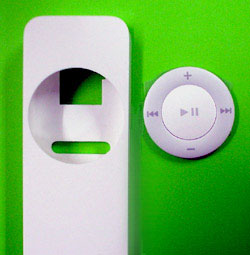
The round button-wheel on the front side is not part of the hard outer casing. It actually consists of a plastic circle with a seperate plastic ring arround it. These two parts are held together and to the casing by a thin sheet of sticky rubber on the inside of the case.

To remove the insides it is not necessary to remove this wheel. If you remove the wheel like I did in the picture you will never get it back in.

UPC-A EAN13 ISBN-EAN13
Chipmunk also offers you a cheap service for creating UPC-A, EAN13 and ISBN barcodes on the internet. You enter the code on our site and we email you the barcode as an .eps document. Confirms to the standards and fully editable! Free samples are available. Click here to go to our barcode site.

3: Sliding the inside out...

The USB plug end of the iPod is glued to the inside of the casing but by prying around with a knife the glue can be loosened. When pulling out the end with the plug be carefull as the USB plug is attached to a super-flimsy foil cable that can tear very easily.
If you managed all this then the whole innards of the ipod can slide out, only held back by to notches, one of which is shown here.

4: What is inside...


Here the battery is visible on the right and the 'buttons' that sit underneath the scrollwheel are to be seen on the left. The fraying seen on the right edge of the iPod is due to my knife-poking to get the thing apart....


The high-tech (ahum...) buttons can be dismanteled by peeling off a transparent foil. The metal circles make the contact and are slightly dome shaped to provide the 'click'.


Again the battery is visible on the right. The black areas on the left are protective black tape. The brown strip running to the right is the foil-strip that should be somewhat longer and in better days was connected to the USB connecor a bit furter on...

The battery can be removed easily the wires are soldered to the PCB though. The black tape has been removed to reveal the power button.


The chassis that holds the insides together can be removed...


... leaving the battery and the actual iPod which consist of two PCBs held together with a plug and some glue.

Continues on page 2


This page is Copyright 2005 chipmunk International

If you want to use any of this material please ask for permission first (harald@chipmunk.nl). The photo's are available in higher resolutions for use elsewhere. Please email me for information.